by Matt Spurlock
Originally Published in the IAMC Newsletter, May 2015
I’d like to share with you what I take along when I’m riding motorcycles on a camp/touring trip or backpacking around Idaho. One piece is a compact stove with all sorts of engineering and gadgetry included. Who doesn’t love gadgets? Or stoves? They make your life a bit better in almost all situations. Let’s face it. We all want some comforts when adventuring off the well-traveled path. A hot mug of coffee in the mornings can really get you going, as well as a hearty soup for lunch, and if you’re into it, a soothing cup of tea relaxes you before crawling into your slumber sack. Granted there are many ways to arrive at the same solution, but we are usually battling a dwindling schedule of daylight and miles that need to be covered. Somewhere along this adventure you need to nourish yourself. I won’t get much into a menu, as everyone has their own dietary needs, but I will offer some ideas and show you what I prepare on the trail.
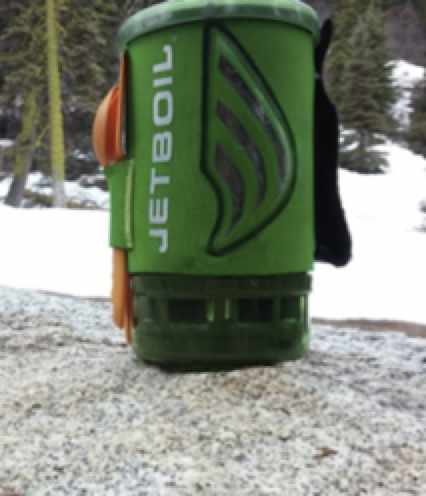
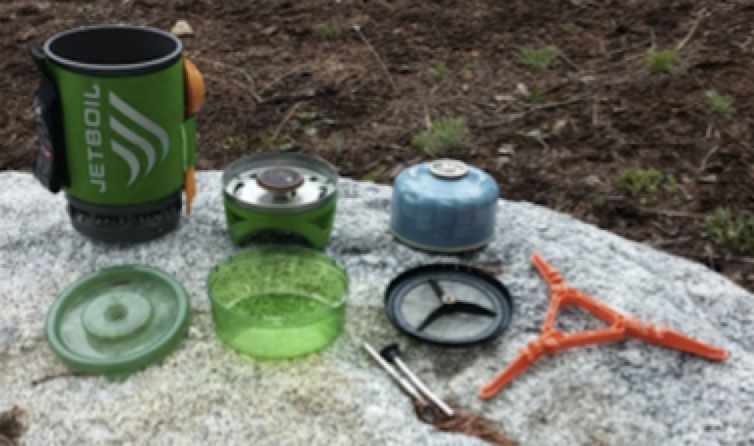
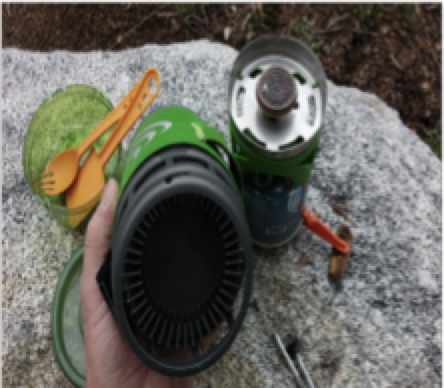
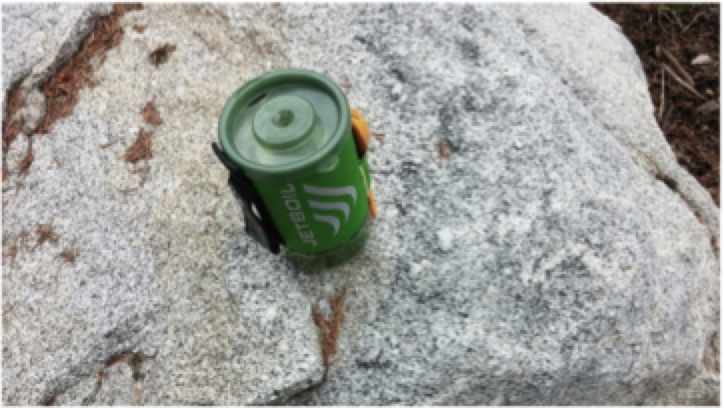
First of all, the JetBoil stove systems are quick and easy to set up, clean and take down. They are built to contain all the basic parts of the system inside the cooking cylinder. There is somewhat of a stacking order depending on what you want to accessorize with but everything will fit inside with the basic kit. There are three sizes of Jetboil stoves to suit your needs. The Zip is the smaller of the set with .8L capacity, the medium 1L Flash (the stove I’m reviewing), and the Sumo which reaches an impressive 1.8L capacity but is more suited to cooking for two or more people in my opinion.
It serves me best by boiling water because I usually have more than one meal item being prepared at a time. Supposedly, it boils water in two minutes. My experience has found this to be mostly true. Ambient temperature, elevation, fuel level, fuel temp, water temp, and water volume all play a part in this time equation. If this seems difficult to calculate because you worry about lost BTUs or aliens reading your mind from outer space, don’t feel bad if it takes a few extra minutes to heat up your 34 degree glacial stream runoff in order to produce a lip-burning cup of dark roast French press. Take off the foil hat, enjoy the sights that abound, breathe in the fresh air; and before you know, you will be enjoying one of the finer comforts caffeine in nature has to offer.
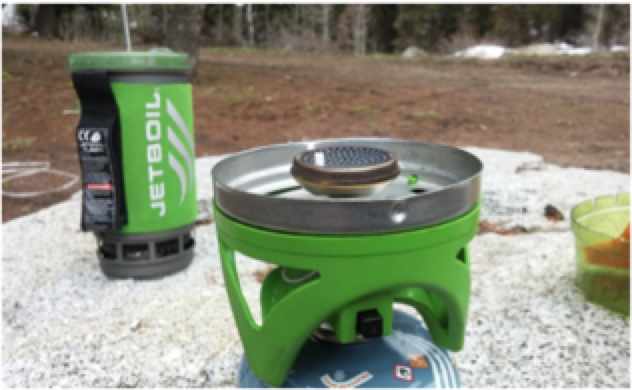
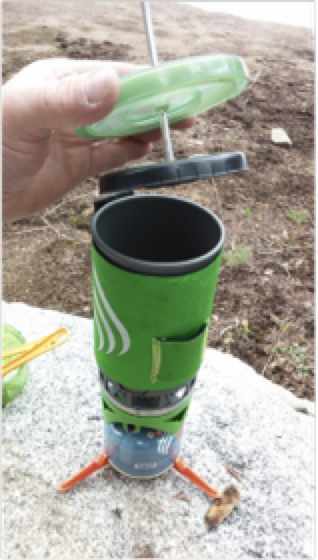
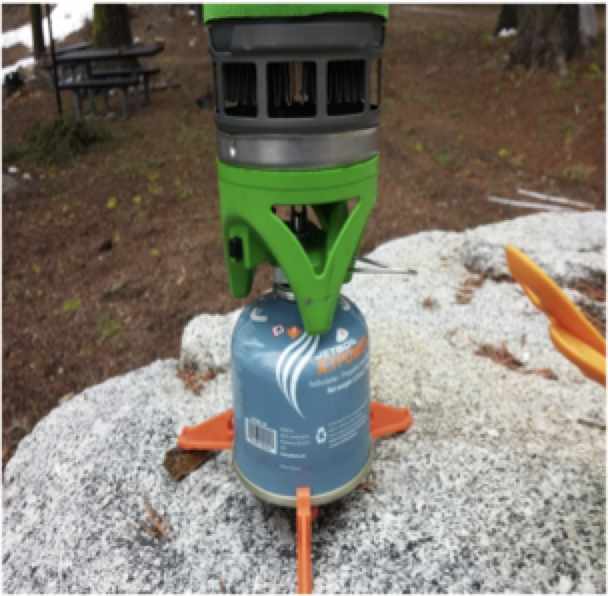
The cooking cylinder has fins on the bottom to allow for more heat transfer to the material inside the cylinder. More surface area equals more heat transfer and faster. The stove base has alignment bumps that allow you to lock the cooking cylinder onto the base to keep things stable. In addition, there is an orange base that clips onto the fuel canister to allow for even more stability. See where this is going? Spilling hot water on yourself or tipping a cup of clam chowder in your tent wouldn’t be an ideal situation. It leads to lots of four letter exclamations. Ouch! Yuck! Sh..! Never mind. The stove will accept most any brand of Isobutane/propane mix fuel canister but be aware only certain sized canisters will nest inside the cooking cylinder. Once the pieces are locked together and placed on a suitable, nonflammable surface, you twist the gas valve open un:l you hear a hissing flow of fuel, then quickly depress the onboard igniter button. If it doesn’t work the first :me try a few more clicks. I have found that the igniter electrode can sometimes get pushed downward which produces a weak spark. Gently use your finger:p to pull upwards electrode, assemble your base to your cup, and retry the ignition process. Wha-La! We have fire!
To prepare a meal I would get a boil going and add it first to a sealable bag of dehydrated backpackers nutrients. Average rehydration :me is 20 minutes. Everyone has their own opinions of dehydrated meals, but I have discovered that the Backpacker’s Panty brand to have a great variety, be plenty filling, and tasty as well. You can purchase these in any sporting goods, recreational and some grocery stores from about $3 to an average main course of $9. Be aware these packets are two servings each, so either divide them in half or prepare for a full belly. They offer breakfasts, side dishes, vegetarian meals, main courses and my favorite, desserts! I think I could last about three days ea:ng these pouches before I had to have a juicy bacon cheeseburger. In reality, if traveling for multiple days, I will consume food I have packed every other day in conjunction with enjoying meals from the local restaurants and diners.

After preparing the meal as per instructions, I would heat another two cups of water for coffee or tea or hot chocolate or cider or the next meal bag if “cooking” for someone else. I recommend having an insulated cup in addition to the cup/protector that comes with the stove system as the heat may damage the plastic over time, and thin walled cups make holding hot beverages difficult.
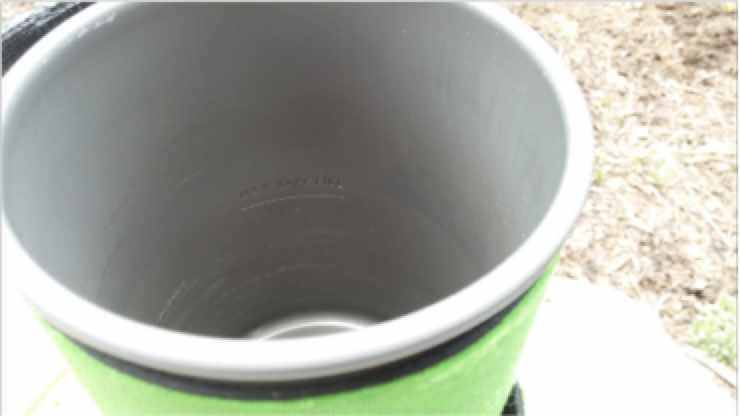
Cleanup is as easy as heating up a bit of water and gently wiping out anything that is stuck inside. Do not use abrasive pads or sand as the aluminum cooking cylinder is coated with a non-stick layer that will be damaged. Also, I do not advise using metal utensils to cook with for the same reason. There are many manufacturers of plastic dinnerware out there; and conveniently, the Jetboil has an external pocket to holster your favorite spork.
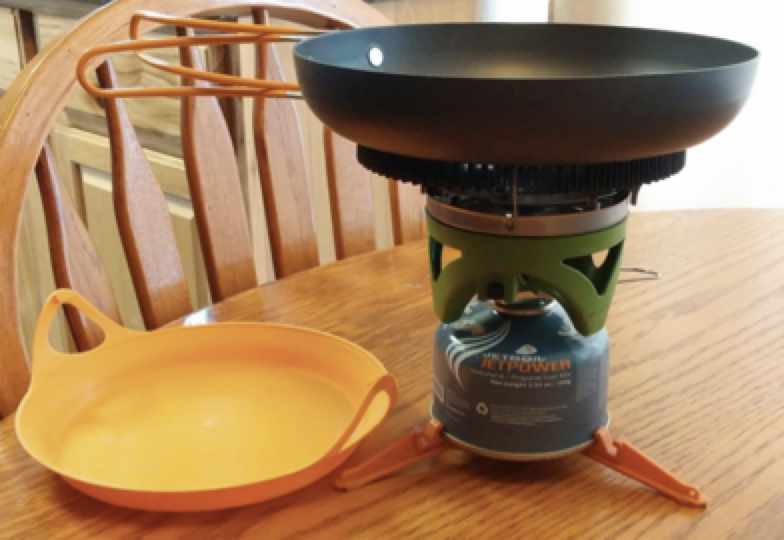
One other accessory I have not tried out is the frying pan. My lack of fishing ability on the trail hasn’t given me the opportunity to try pan seared butter garlic trout, with a side of salt and pepper mushrooms. I hope to use the pan this year, even if just for pancakes and bacon.
I’ll finish with a list of pros and cons that I have discovered while using this particular cooking system.
Pros:
- Clean burning, easy to use, fast water heating abilities
- Nonstick coating keeps maintenance and cleanup at a minimum
- Plenty of op:ons and add-ons
- More efficient heating design than other stoves
- Built in temperature indicator, handle, insulation cover, sipping lid, spork holder
Cons: - Nonstick coating can be scratched by sand, utensils, hard objects
- Can be unstable and cause a mess or injury if not properly placed
- Pricy for just heating water
- Could be crushed if fallen onto or run over
If you would like to know more about this cooking system, visit http://www.jetboil.com/ for all of the models, op:ons, and technology included within the Jetboil systems.
I would also be happy to demonstrate this stove on any campouts planned for this year. Be safe, have fun, Ride ON!