by Chuck Sheer
Originally Published in the IAMC Newsletter, June 2012
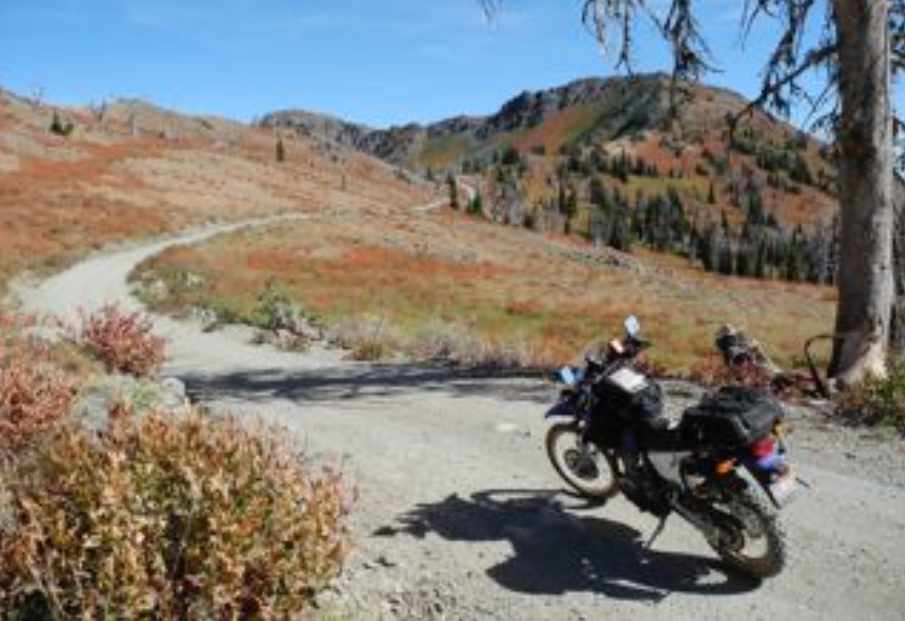
We all know the thrill and exhilaration of riding hard and fast and the adrenaline rush of pushing the “envelope” is definitely addictive. But, some of the most spectacular scenery in the world is just off the trail under our tires right here in Idaho, and when you are concentrating on that track, it!s easy to forget about all the beauty surrounding it.
Too many times I have blasted past what I soon realized would have been a terrific opportunity to record some of that breathtaking scenery and was too focused on the trail to take a photo time out. And I certainly didn!t want to turn around and backtrack, especially riding in the middle of a pack of gung-ho dual sport freaks.
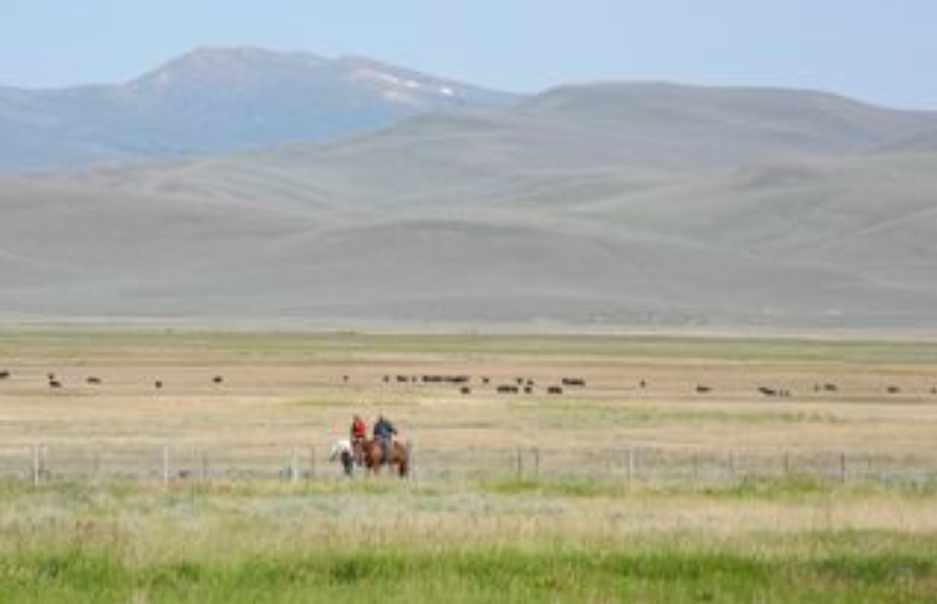
Oh sure, there are those same old planned stops on the itinerary, you know the overlooks, the lookouts, the same places everyone stops for the photo ops that made Kodak their millions in Kodachrome processing. And those places are definitely worthy of an extended visit and exposure of a few megabytes of pixels. But what about all those other smaller and less grand photographic opportunities that have equal value and make a blog or “slide show” richer and deliver a more complete and powerful presentation?
When riding with a group, I often prefer to hang near the back of the bunch as this allows me to slow my pace, enabling me to seize those photo opportunities that otherwise would be lost. If I must endure a little razzing for being the slowpoke, so be it as the photos I will have made will definitely be worth it.
Here are a few hints to help you take home more great shots more often:
1. Keep your digital camera and equipment in a well-protected readily accessible area.
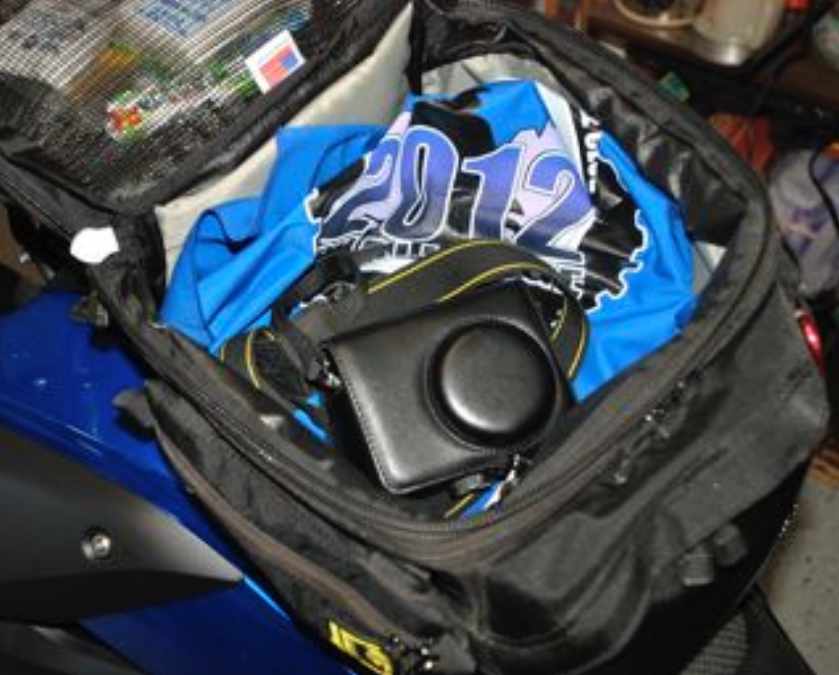
a. When it!s possible, carry your mid-size camera in the tank bag. The full-function Nikon P7000 is my choice. It!s easy open snap-on case protects it from colliding with other hard items when riding in rough terrain. The spare battery fits in a side pocket with cell phone, etc.
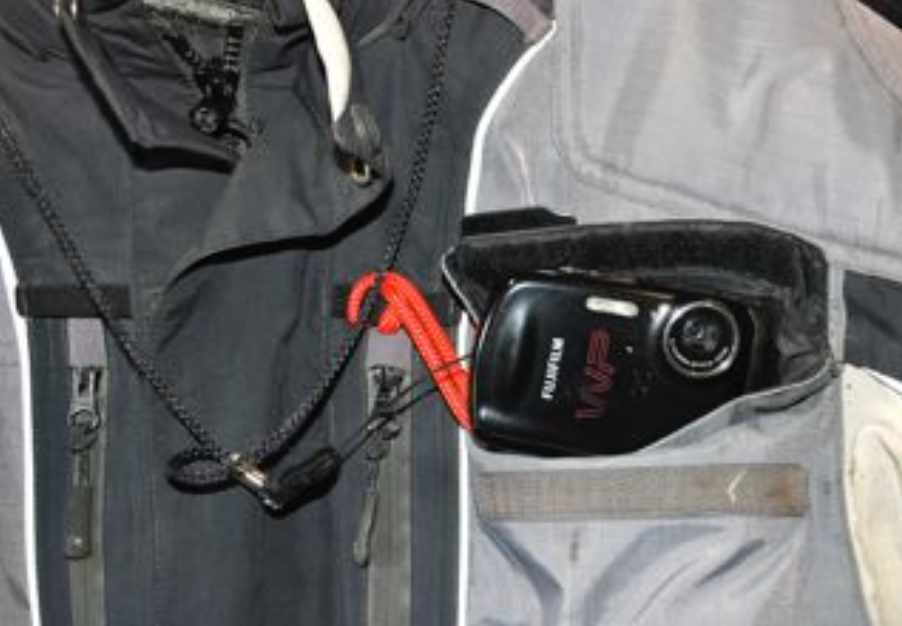
b. A small but rugged water proof and dust proof camera hung from a lanyard will fit conveniently in your riding coat pocket for easy and quick access. The small Fuji Z33WP is great for panoramas and candids.
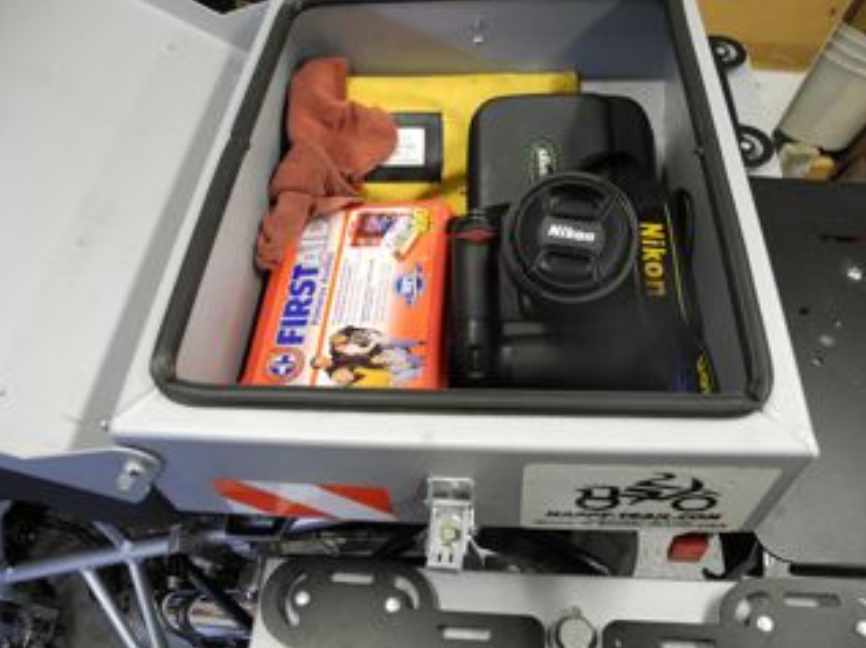
c. You may wish to carry a full size SLR for major photo expeditions when the terrain is mild. Most can be packed with care to fit in a Happy Trails top box or a Givi trunk but they require more room and you may have to sacrifice another piece of dispensable equipment.
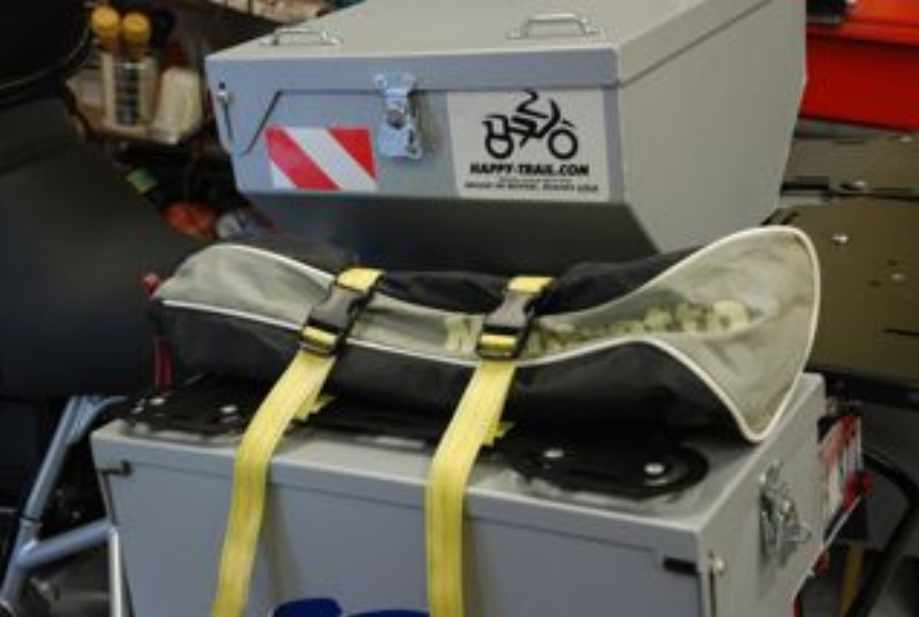
d. If used properly, a sturdy but packable tripod can make a huge difference in the quality of your images. Your photos will be sharper especially those made in long telephoto mode. I like to carry it for group shots, too, so I can actually be in a photo. A quick disconnect shoe/foot device will eliminate the screw-on screw-off hassle each time you set up. I like to strap my Manfrotto tripod in its bag behind me on the seat or to the top of a Happy Trails Pannier.
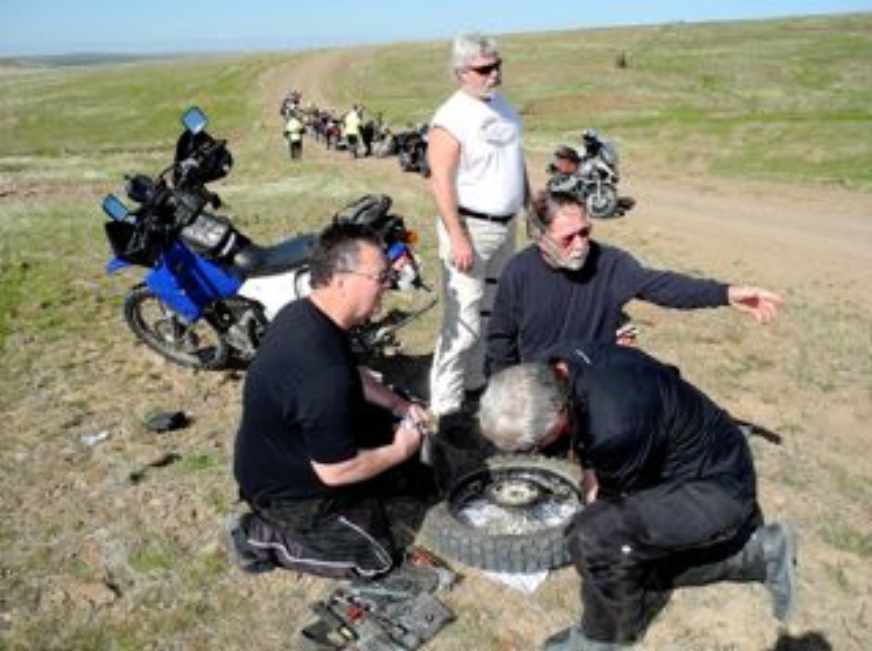
2. Often something, which seemed mundane on the trail can be of great interest when viewed later while composing your ride report. Don!t be afraid to use up a load of pixels, more is better. I usually keep the MPs set at about 5 which is adequate for most of my needs but you can bump to 10 or more for shots that will require large reprints later.
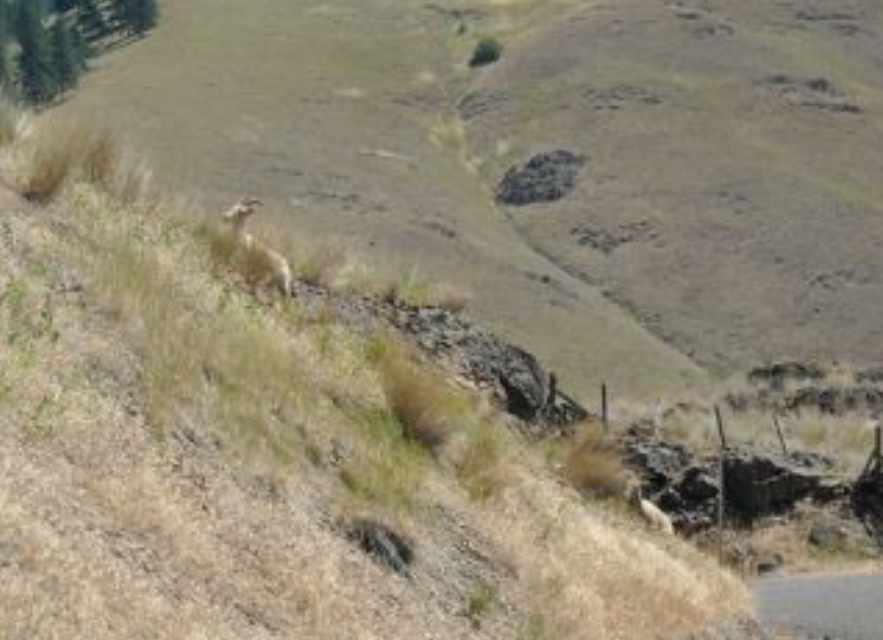
3. Wildlife is difficult to photograph with the best telephoto equipment, so when you are lucky to come across wildlife, photograph it with the most telephoto you have ( zoom in as close as possible). You may be able to crop in tighter later at home at your desktop.
4. Move around! Shoot from a high vantage point. Shoot from a low angle. Move left or right. Move closer or, if possible, move back (watch your step!) You may see a juxtaposition of elements that didn!t occur to you originally. Moving closer in wide angle mode is entirely different than zooming in. It will completely change the relationship of subject to background and foreground. Take your time!
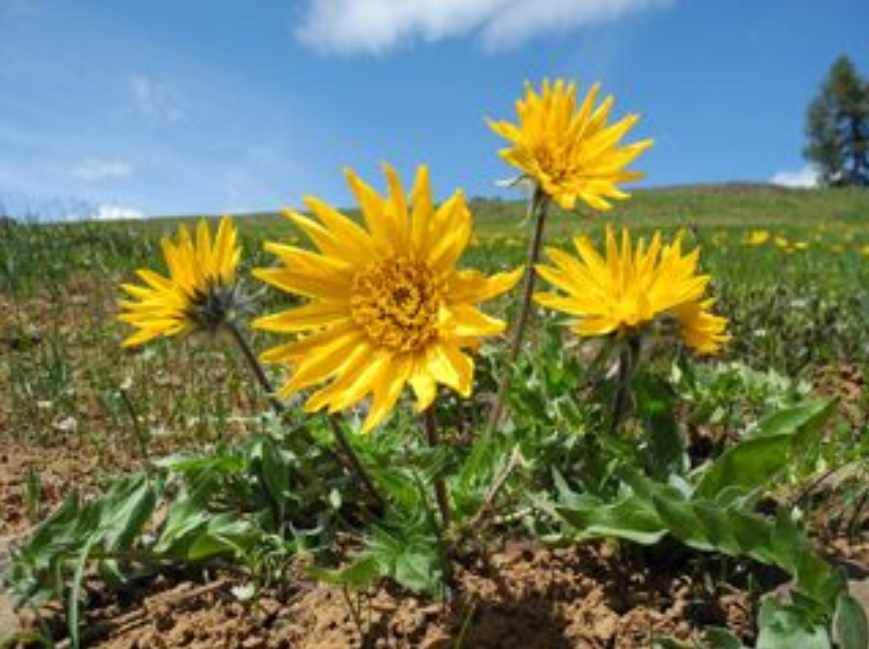
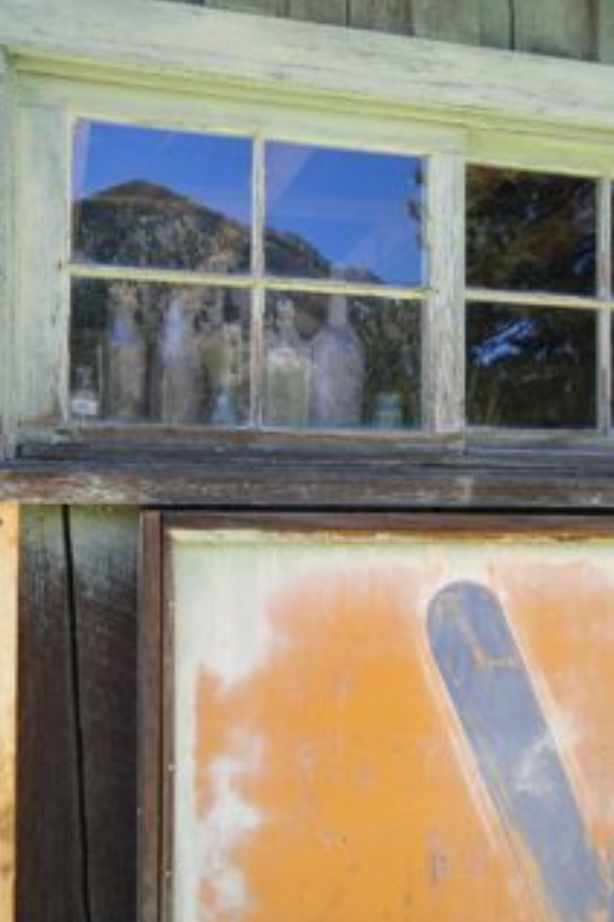
5. Watch for smaller things like groups of flowers, weather tortured trees, textures, reflections, etc.. Your bike and your riding buddies don!t need to be in every photo you make.
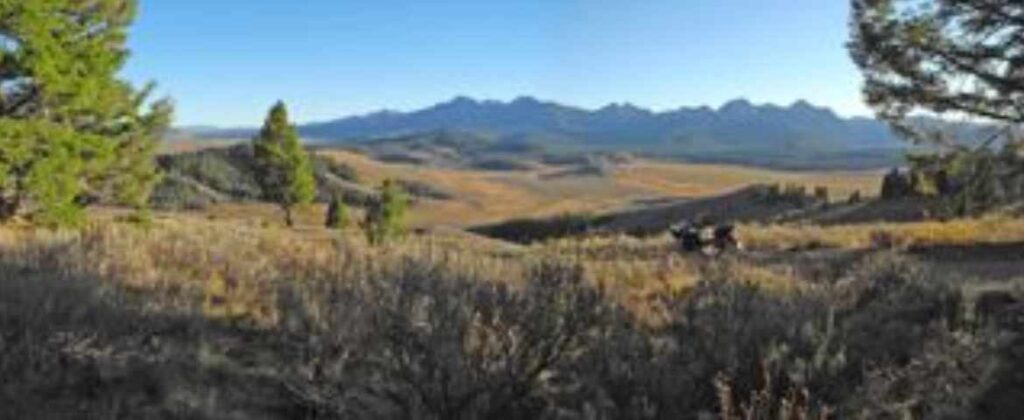
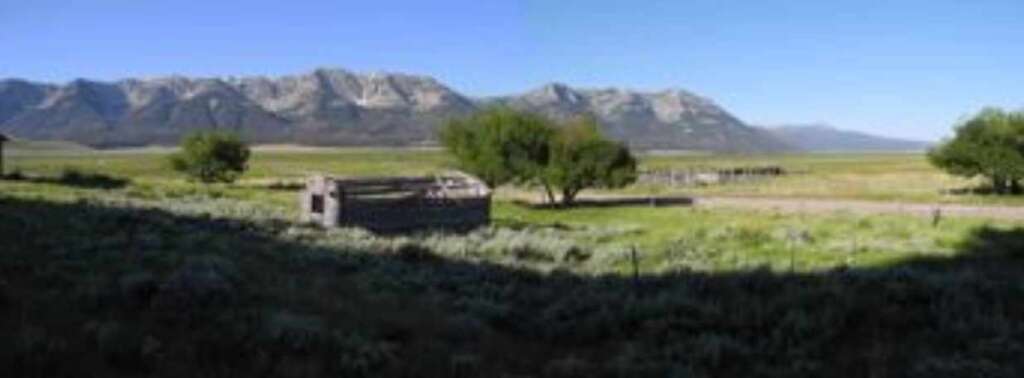
6. Can’t get that amazing panorama all in? Even the widest angle lens on your point and shoot may not cover the area of a panorama, and many “fisheye” lenses can distort an image beyond recognition. The solution? Shoot several consecutive images, I like to move left to right, slightly overlapping each frame. Then, at home with a little practice and software similar to a Photoshop, you can splice them together. Some cameras even have built-in panorama building programs.
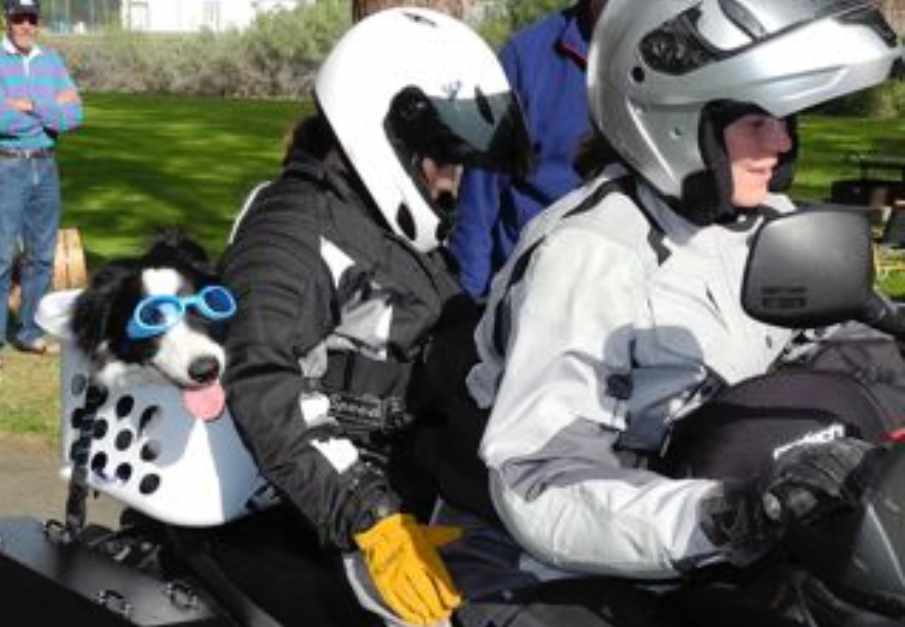
7. Maybe hardest of all, try to anticipate and be ready to capture those candid moments, which can add humor and human interest to your presentation. “Staged” humor is not nearly as effective as the real thing.