
Hey Folks, I thought I would share the story of my current dual sport.
I purchased this 2000 Suzuki DRZ400 in April of 2017 at a garage sale for $1200. It had a few issues.

Someone has attempted to do the 3x3 mod, but it was terrible. The bike had good compression, but ran horribly.
Also the brakes were pretty much non existent. While all of the components were there, they had pretty much "slowing" power, not to mention stopping power.
There were also various broken parts that needed addressed, and I pretty much considered it to have never seen a lick of maintenance. I would pretty much be starting over here.
First order of business was a semi tear-down and thorough washing. I find this stage of the process very therapeutic, although it's also when you find more issues that need addressed.
After a thorough carb cleaning and re-jetting with the JD kit she was running again. From there I slapped on some new plastics, installed the DRC Edge tail light and some Chinesium turn signals. Then finally some patriotic graphics. I was off to the races.

The eyes of the ranger are upon you.
2000 Suzuki DR-Z400
2005 BMW R1200GS
1978 Yamaha TT500
2003 Yamaha V-Star 1100
1978 CX-500 Scrambler (in progress)
In 2021 tragedy struck when my son and I were trailering our bikes to Silver City. We went over a speedbump, and in my rearview mirror I saw the bike dip. The inboard strap came loose, and the bike flung itself over the side of the trailer where it proceeded to roll down the highway. It hard to describe how much time slows down when you are watching your bike tumble down the side of the road.
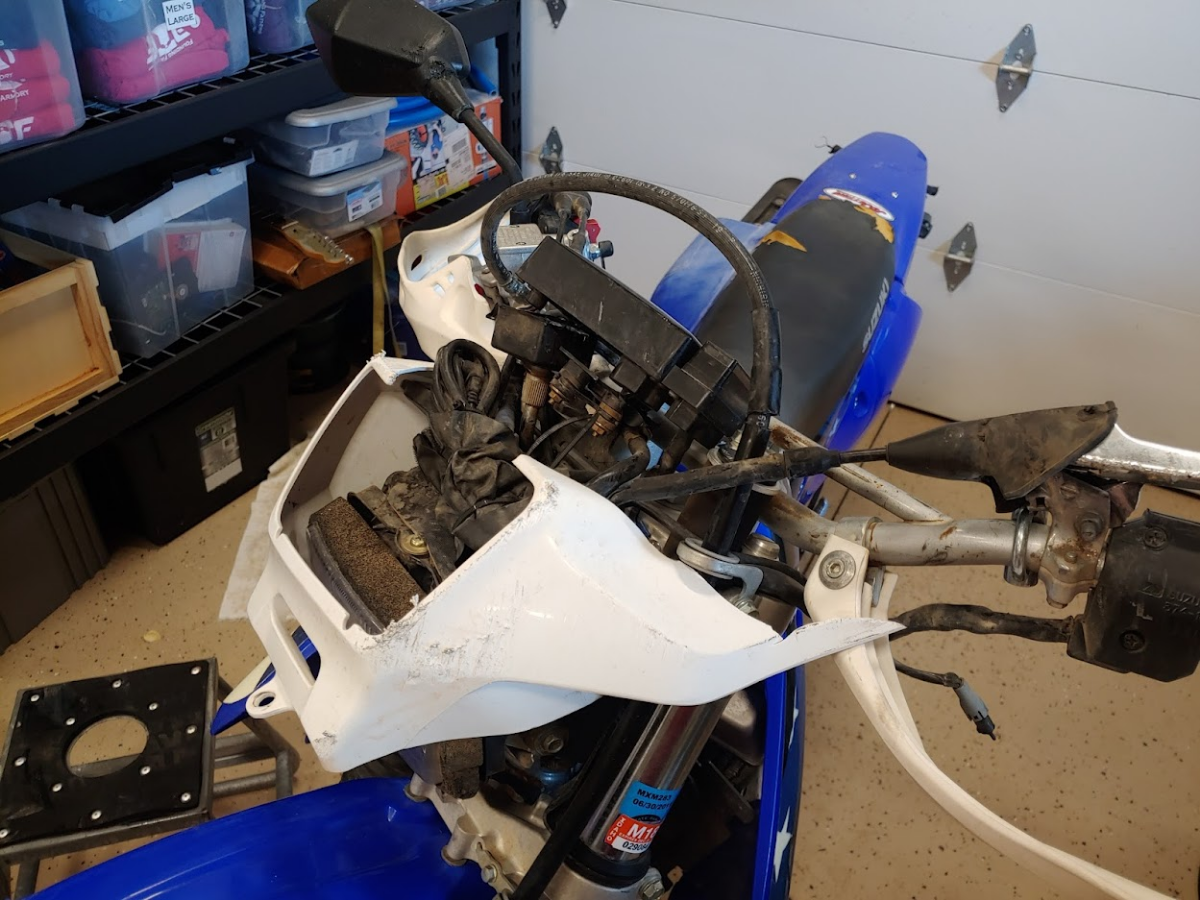
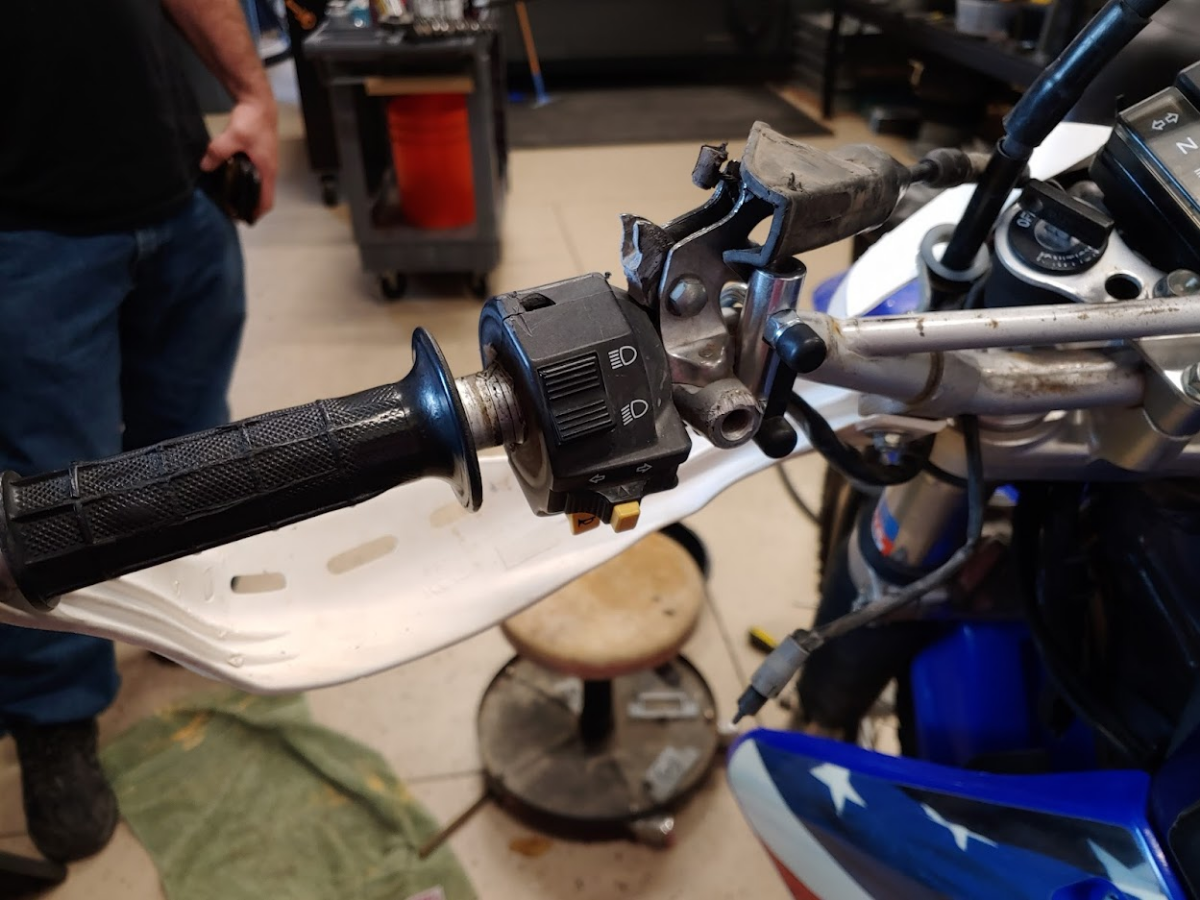
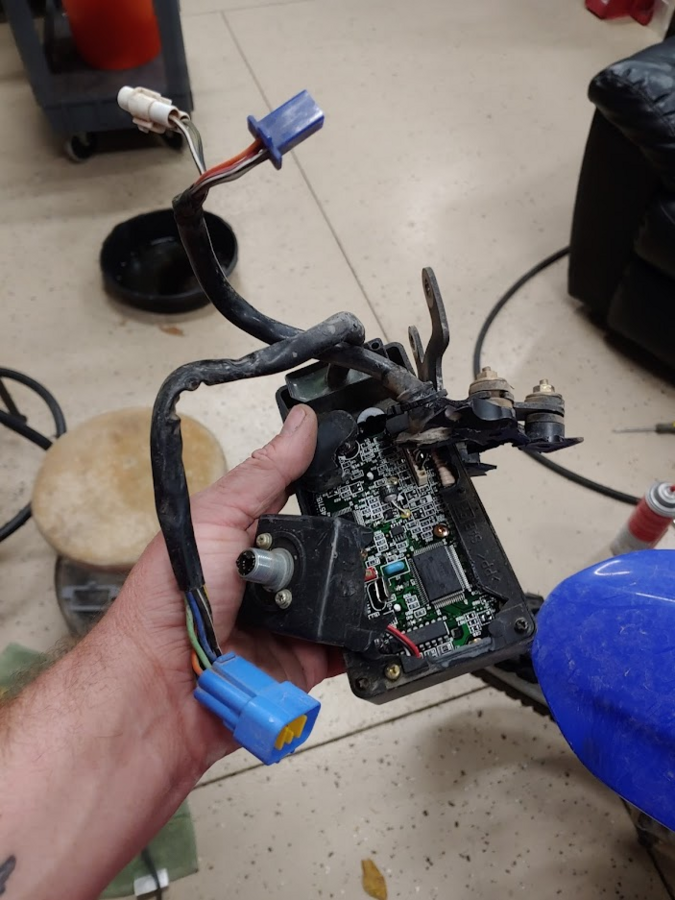
It turns out that most of the parts on the handlebars were completely destroyed. The headlight was smashed, the computer was broken, both the clutch and brake levers were toast, as well as the front headlight shroud.
Pretty much all the plastic was either cracked or scuffed. Amazingly the frame, subframe, and engine all seemed fine. The forks looked good as well. It could have been a lot worse.

Oh well. I guess this just means it's time to rebuild...again!
The eyes of the ranger are upon you.
2000 Suzuki DR-Z400
2005 BMW R1200GS
1978 Yamaha TT500
2003 Yamaha V-Star 1100
1978 CX-500 Scrambler (in progress)
2nd teardown commences. First thing to do is take out the battery and avoid unnecessary fires.
These photos are here for the benefit of anyone who has their bike apart and wonders what goes where or what's involved with certain tasks.
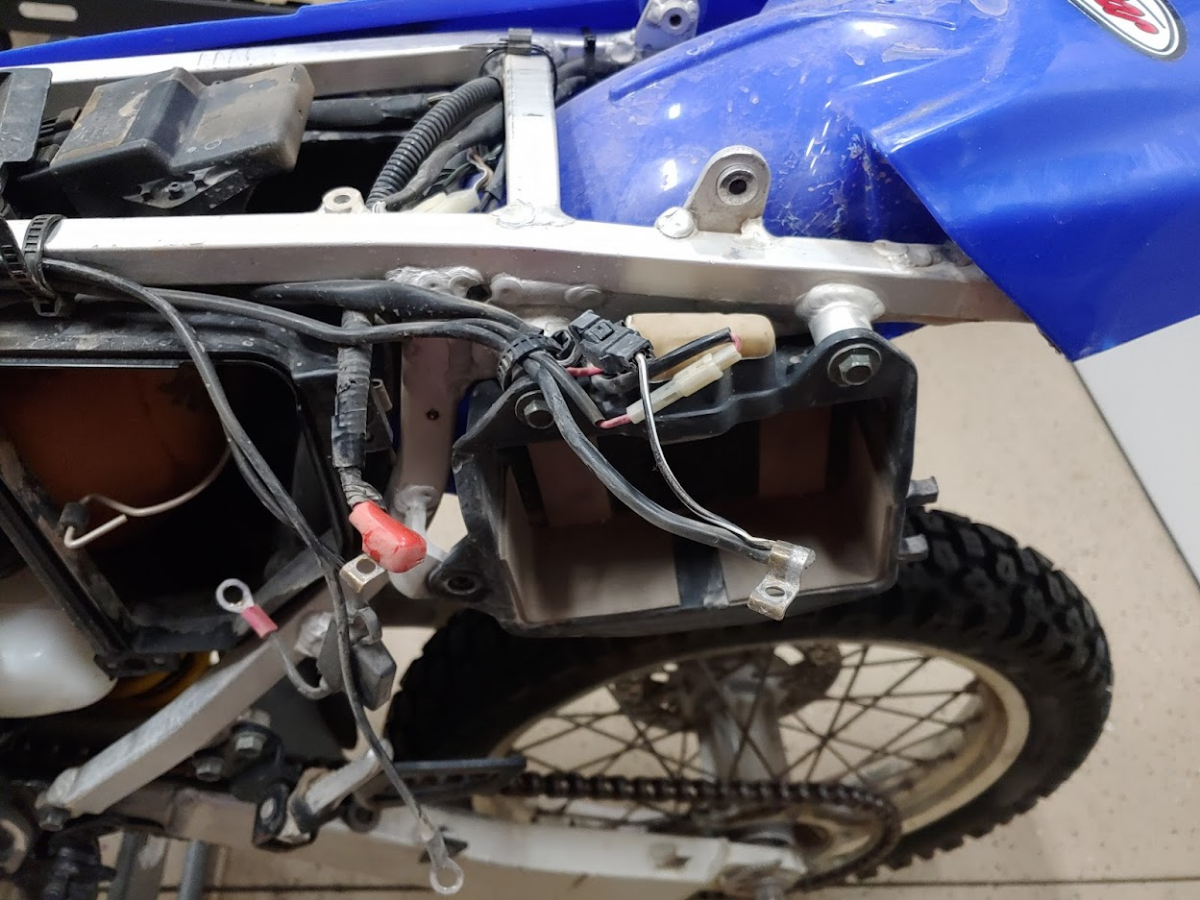
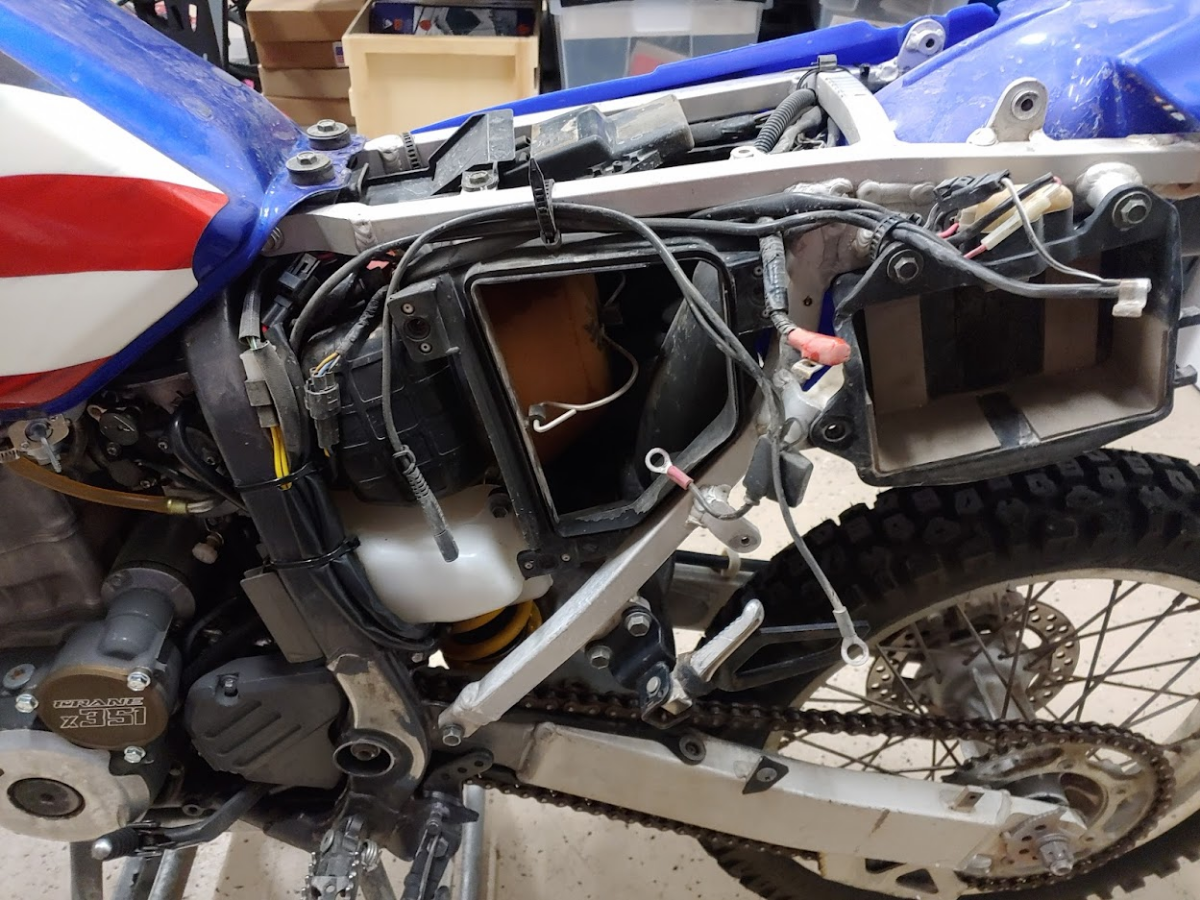
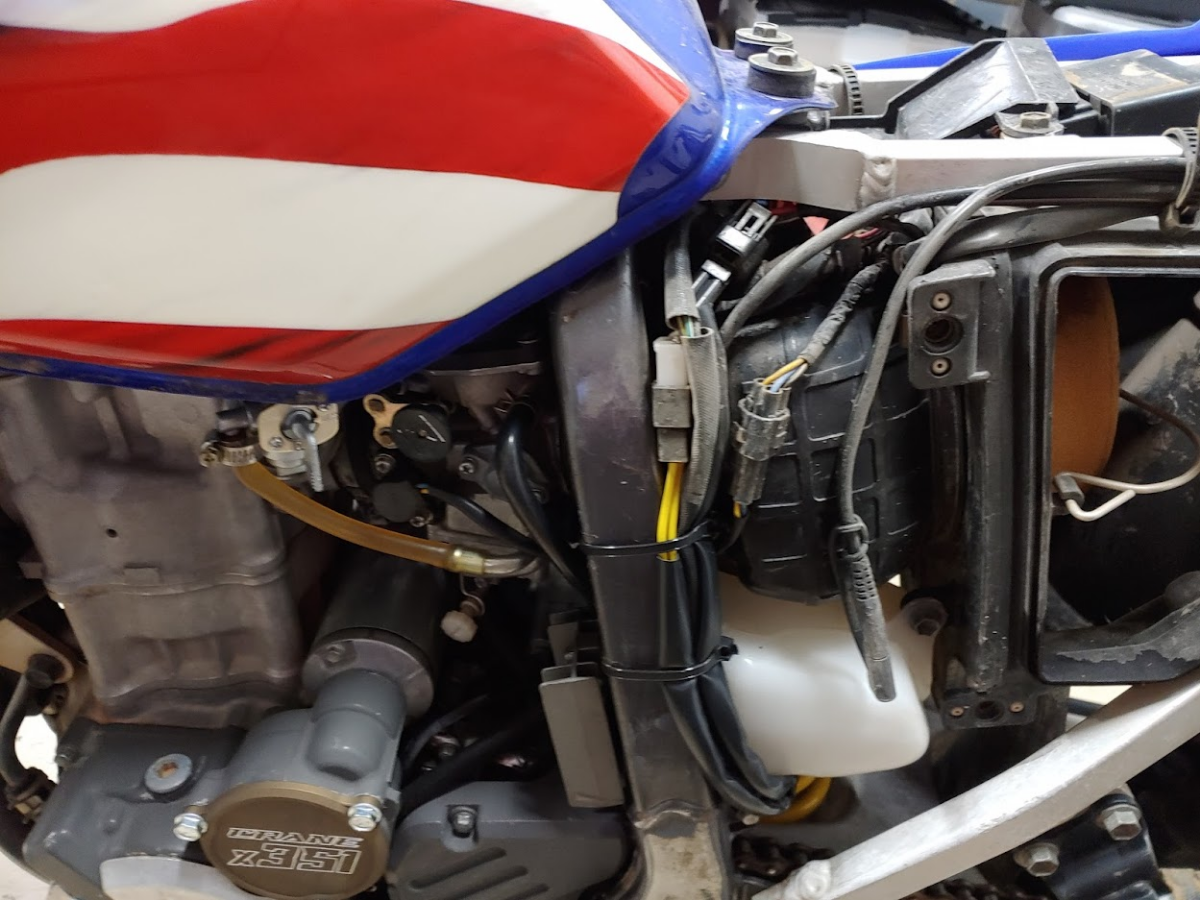
Looks like wiring butchery is afoot.

I'm fairly confident this will need replaced.
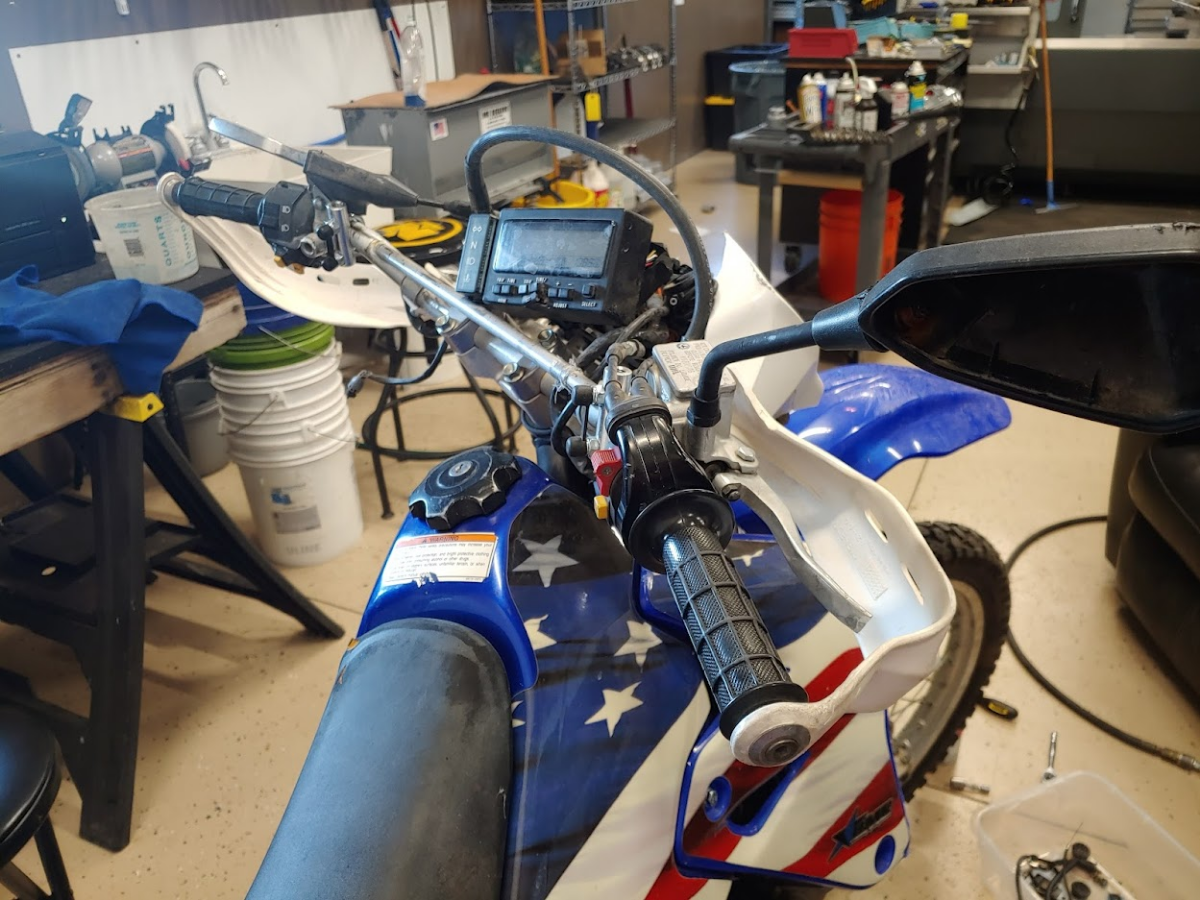
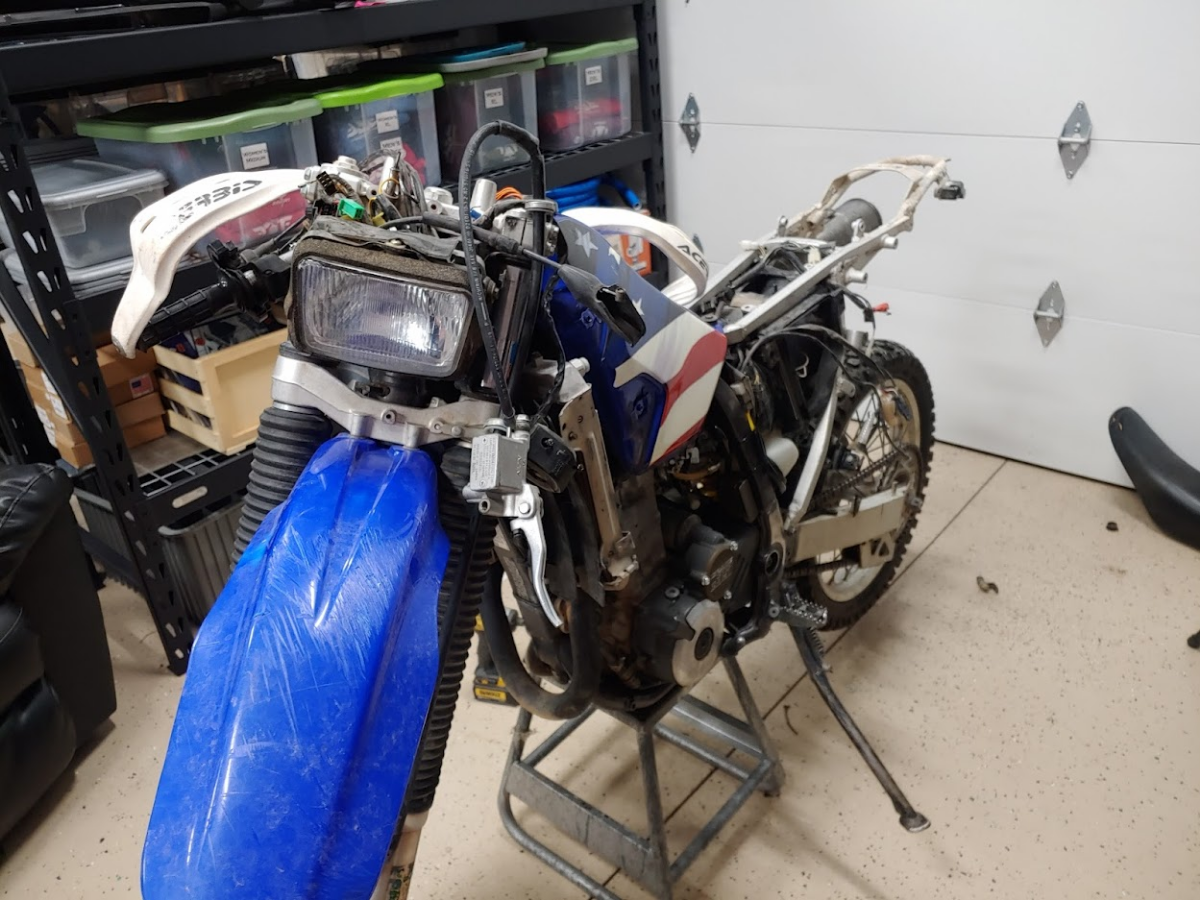
At this point my bike looks pretty "sad".
The eyes of the ranger are upon you.
2000 Suzuki DR-Z400
2005 BMW R1200GS
1978 Yamaha TT500
2003 Yamaha V-Star 1100
1978 CX-500 Scrambler (in progress)
During tear down I ran into my first hang up. The button heads holding on the brake master cylinder immediately stripped out, despite using my freshest hex key, so I had to drill them out. Then I used an EZ out to remove the stud from the master cylinder.

Getting the swingarm bolt out was a royal PITA. I swear it took 2 hours. No amount of pounding was getting that thing to slide through. Eventually what I did was get a piece of 3/8" all thread (hardened, luckily) and some big washers and basically pulled it out. But it wasn't easy. It was super slow, and I fought for every millimeter. Fortunately the 3/8" fits perfectly through the hole in the middle, and the hex nut can fit through the larger hole, and is slightly smaller than the threads on the pivot bolt. What I ended up doing was tightening the nuts, hitting it and hearing it "pop", and repeating. But it wasn't simple and it wasn't fast.


Did I mention it took forever? Putting tension on the bolts and then hitting the other end with the hammer seemed to work the best. It also helped using copious amounts of WD-40. Also filled up the swear jar.
Sweet, sweet victory. Now I shudder to think how I have to get that back in there....

And here it was after a day of frustration.

The eyes of the ranger are upon you.
2000 Suzuki DR-Z400
2005 BMW R1200GS
1978 Yamaha TT500
2003 Yamaha V-Star 1100
1978 CX-500 Scrambler (in progress)
The progress continued.

It didn't take too long to get the motor and the frame separated. Shortly after I had the frame completely disassembled. It was very very dirty. But after some scrubbing and power washing shes lookin a lot better.

Next on to the engine. I scrubbed. And scrubbed. And scrubbed. Kicking myself for not getting a before picture. Can anyone recommend a product for making the aluminum look pretty again? I *considered* painting it, but don't think I will. I'm just talking about the block, head, and jug. I have plans for the other parts.

From there I turned my attention to the sway bar. Getting the needle bearings out was a PITA. There was so much dirt and grime shoved in the pivot bearings it was hard to tell what was what in there. All kinds of nastyness. Honestly I didn't think it would be nearly this bad.

Same as the pivot bar for removing the swing arm, I used the all thread and washers with a socket to pull out the old bearings. One of them broke free and moved with the all thread setup. It made quite the "pop" when it finally broke free. Then I pulled it towards the bottom as far as it would go, and then beat it out the rest of the way. The other side I just had to beat out. Wasn't fun. The all thread doesn't interact with the top bearing at all in the picture, it just sticks through it.

There seems to be two bearings for the linkage. This is a problem as I can't beat them out one side. I would need a puller, which I don't have. Fortunately these bearings look good, so I think I will just leave them. Will repack then well with grease and put new seals on the end.

I did have a bolt break off in the swing arm. Luckily I got it out by hacksawing a slit and then using an impact screwdriver (the kind you hit with a hammer) to get it out. Worked great. It's a good feeling when it actually works.

Then it was off to the sandblaster and then the Cerakote booth.

The eyes of the ranger are upon you.
2000 Suzuki DR-Z400
2005 BMW R1200GS
1978 Yamaha TT500
2003 Yamaha V-Star 1100
1978 CX-500 Scrambler (in progress)

The eyes of the ranger are upon you.
2000 Suzuki DR-Z400
2005 BMW R1200GS
1978 Yamaha TT500
2003 Yamaha V-Star 1100
1978 CX-500 Scrambler (in progress)
The frame was off to the powder coaters. In the mean time there were plenty of parts to clean and Cerakote.


Next it's off to the blast cabinet for some blasting and back to Cerakoting. Got a bit done before company came over for dinner. All in all a good day.

The eyes of the ranger are upon you.
2000 Suzuki DR-Z400
2005 BMW R1200GS
1978 Yamaha TT500
2003 Yamaha V-Star 1100
1978 CX-500 Scrambler (in progress)
Now for something kinda fun. I actually did this up two weeks ago (before the accident) but I'm just finally getting to share it.
While I was blowing off the starter cover it fell from my hand and hit the floor, and broke. The good news is I own a machine shop.
First thing's first, fire up Solidworks and CAD out a model. Easy. One beer and two talk show episodes later I have the model.


Two beers later I have some toolpaths laid out.

From there it was off to the aluminum store to grab some billet. Cut off a piece in the trusty old bandsaw and we have something to start with.

First operation.

End of 2nd operation. Inspector Stamper gives his approval.

Sand blast for uniform finish.


Then off to the Cerakote booth to get the Burnt Bronze treatment. After that I will throw it back in the soft jaws and run an engraving toolpath. We don't really race...but if we did 351 would be our race number.

And a test fit.

Since I'm at at went ahead and made one for a buddy.

The eyes of the ranger are upon you.
2000 Suzuki DR-Z400
2005 BMW R1200GS
1978 Yamaha TT500
2003 Yamaha V-Star 1100
1978 CX-500 Scrambler (in progress)
Might as well also make an oil filter cover too for the DRZ400.

Made up a set of soft jaws for the job. If I decide to crank a bunch of these out it will be nice to do 2 at once. This is what it looks like before cutting the other side.

Stamper tests fitment. Looks good.

Quick blast in the cabinet, and the psychedelic tool marks go away.

Ready for testing. Expect my bike is all torn apart.

The eyes of the ranger are upon you.
2000 Suzuki DR-Z400
2005 BMW R1200GS
1978 Yamaha TT500
2003 Yamaha V-Star 1100
1978 CX-500 Scrambler (in progress)
The frame came back from powder coating. Looks great.

I don't have pictures, but I redid all the bearings in the swing arm. The kit was about $80, but the existing bearings were in such bad shape it had to be done.
My uncle came over and helped me set the engine into the frame. Could probably have swung it myself, but it was nice to have the help getting everything lined up.

The pivot arm didn't look much better. I pressed out the bearings and ordered a new kit. Unfortunately the kit didn't include the smaller bearing...so the waiting game starts again.

Ordered a cheap chain guard. Will see how it holds up, but I can't for the life of me find the washers the came off of the old one. You may think I took a lot of pictures....nut not nearly enough. Anyways, more parts on order.


The eyes of the ranger are upon you.
2000 Suzuki DR-Z400
2005 BMW R1200GS
1978 Yamaha TT500
2003 Yamaha V-Star 1100
1978 CX-500 Scrambler (in progress)
I decided to remove the helmet lock. They key didn't work and it was just dead weight. I cut it off with a reciprocating saw and grinded smooth.


Not perfect, but will probably never be noticed.
The eyes of the ranger are upon you.
2000 Suzuki DR-Z400
2005 BMW R1200GS
1978 Yamaha TT500
2003 Yamaha V-Star 1100
1978 CX-500 Scrambler (in progress)
I have had a heck of a time get just about every bearing on this build so far out. I did finally get this one out, but boy it took some hammering and pounding.

Now these two are in the frame.


As per the usual arrangement they were a bugger to get out.

The swear jar is getting more and more funded, but they finally came free. How about a philosophical question? Is it acceptable to use the swear jar to purchase more motorcycle parts, or is that only to go to charity?

Next time to put the new race on. Freezing the shaft makes slip on much easier. Not easy, but easier. I also found those Hot Pockets I have been looking for.


The eyes of the ranger are upon you.
2000 Suzuki DR-Z400
2005 BMW R1200GS
1978 Yamaha TT500
2003 Yamaha V-Star 1100
1978 CX-500 Scrambler (in progress)
Next task is to get the front forks ready. Honestly- I'm not going to do much more than give them a good cleaning. For whatever reason I cannot set a seal to save my everlasting soul from Hell. These aren't leaking even a little, and there is a zero percent chance they will be better after me trying to rebuild them. So for now, it's removing old stickers, cleaning up well, and putting them back on. I don't think I am going to put the boots back on. I might get some seal savers, but I have never liked the accordion look and they seem to trap a lot of dirt.
Here you will see I'm not restoring every little part to 100% new. There are existing dings and scrapes that will remain.


All cleaned up and ready for reinstallation. The sticker discolored part of the metal. Guess my new offroad sticker will have to go in the same spot.

At this point I'm ready to have this back together, so I will probably skip over that for now. Th weather is getting better and I'm anxious to go riding with my boys.
Progress continues. I crammed the sub frame into the sand blast cabinet and got it stripped down to bare metal. Then it was off to the Cerakote booth. It took 90 grams of Cerakote to get the two coats on it. Then I gingerly transferred to my oven to bake at 250 for 2 hours. This is probably the largest object I have ever crammed into this oven.


While the frame baked, I turned my attention on to the rear brake.
It was pretty dirty.

I soaked the caliper in solvent for a while attempting to brake up (lol) the buildup of grease and junk. Then came the scrubbing, scrubbing, and more scrubbing.

I took a look at the brake pads. Seems to me the old one still has some life left.... but meh. Why cheap out now?

The eyes of the ranger are upon you.
2000 Suzuki DR-Z400
2005 BMW R1200GS
1978 Yamaha TT500
2003 Yamaha V-Star 1100
1978 CX-500 Scrambler (in progress)
I blasted and Cerakoted the larger bracket the caliper mounts to. That part was dirty as well.

Mounted the master cylinder and reservoir. I think I'm going to replace the reservoir. It has seen better days.

And guard installed.

I only stayed up until 3:45 AM working on it.
I didn't get a picture of the cylinder inside the caliper, but after a good scrubbing it actually looks half decent. All said and done it looks better than I thought it would look considering initial conditions. I probably could have spent more time on it, but as I said earlier, I'm anxious to ride my bike again.

The eyes of the ranger are upon you.
2000 Suzuki DR-Z400
2005 BMW R1200GS
1978 Yamaha TT500
2003 Yamaha V-Star 1100
1978 CX-500 Scrambler (in progress)
Well...it's not always glamourous. 70% of this project is just this...
I don't NEED to...but might replace the old master cylinder.


I purchased these grips, and love them, but they are a bit short. Not sure if I will run them or not, but I wish they came in a longer version. There aren't a lot of grips out there I really love. These are my favorite so far...but they are for pit bikes. Ugh.

Installed my new Acerbis hand guards. Actually just one of them, since to install the other one I need to get my new throttle tube.

The main attraction today was the wiring harness. It's in, and it's more better-er than ever before.
Air box in. Haven't installed the oil catch yet since I need to get in there some more., but that should be easy. At least the carb is back in.
I also did a quick electrical check. Everything works. (horn, brake lights, hi/low beams, rear turn signals, etc.) So far so good. I can't check the coolant warning light yet.

The eyes of the ranger are upon you.
2000 Suzuki DR-Z400
2005 BMW R1200GS
1978 Yamaha TT500
2003 Yamaha V-Star 1100
1978 CX-500 Scrambler (in progress)