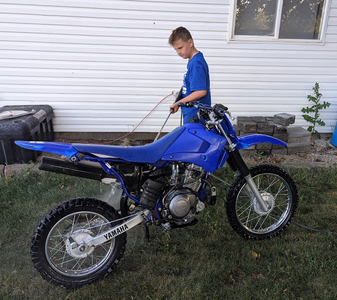
I picked this 2007 TTR125 off of marketplace late last summer for my older son, Peyton. It was in decent shape on first inspection, but the more we got to looking at it the more I realized needed done. Nothing too major at first, such as brakes and a new clutch. It has smoked quite a bit, however, and it doesn't want to idle particularly well.
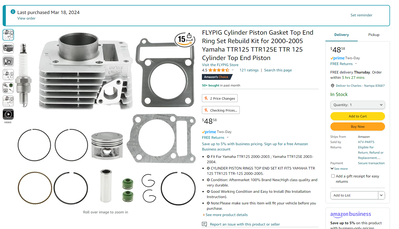
Maybe I should have started with a valve adjustment, but I ended up ordering a top end rebuild kit because they are so cheap. I will keep the OEM parts just in case, but for $50 I think it was worth the risk.
I'll outline some of the stuff we have done, but this is by no means a tutorial. But if someone comes along needing to do this job this will probably serve well enough to let them know what they are getting in to.
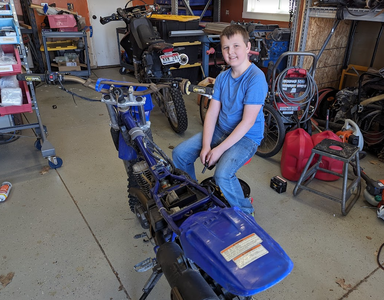
First we took off the seat and gas tank. Then we took the carb and exhaust off, as well as the upper engine mount.
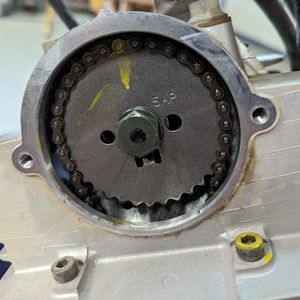
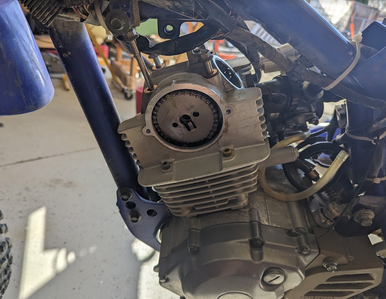
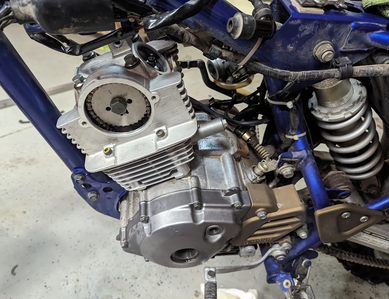
On the left side of the bike there is a cover for the timing chain. Pop that off to expose your cam gear. I marked a link with a paint marker to match up the chain link.
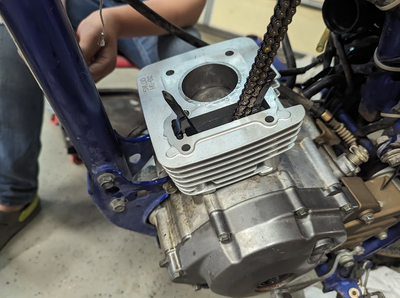
Getting the head and cylinder off was the most difficult as the upper frame gets in the way of those big long bolts. It was a challenge. Who knows what it will be like trying to put it back together. So far I have not needed to remove the engine from the frame.
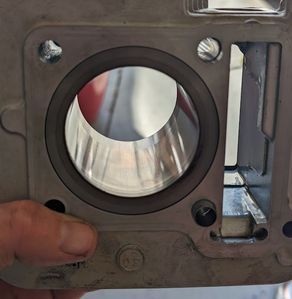
Upon getting the cylinder out I was kinda disappointed that I didn't see more wear. I was hoping it was just the cylinder and rings that were shot causing all the white smoke. This doesn't look all that bad.
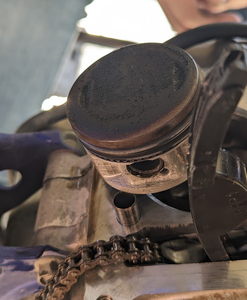
Here's the piston. Again, not bad. It's dirty in the picture and probably in better shape than the picture suggests.
The eyes of the ranger are upon you.
2000 Suzuki DR-Z400
2005 BMW R1200GS
2003 Yamaha V-Star 1100
1978 CX-500 Scrambler (in progress)
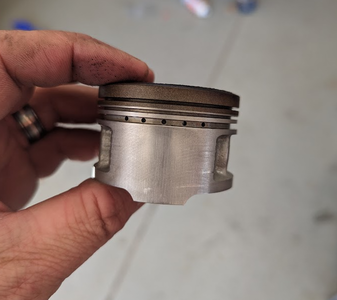
Here's the piston that came out of it. So cute.
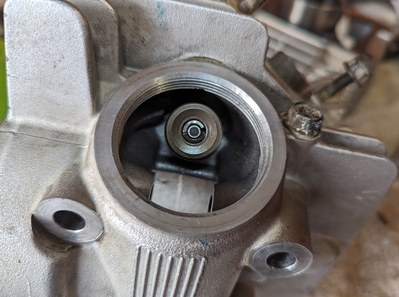
Seeing how the piston and cylinder looked good (I'm still replacing them) I decided to do valve stem seals while I'm here. On the head I needed to pull the cam and the rockers. I'm actually not sure if by removing the valves first I can get out the cam by rocking the rockers all the way down. I didn't think about it and wish I would have tried that first. I don't have a spring compressor, but for $28 Jess Besoz will send me one. It will be on my doorstep in the morning.
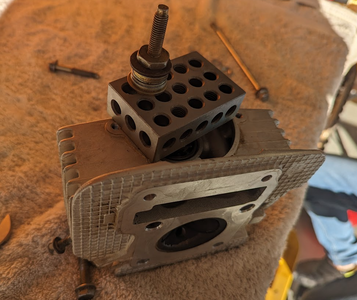
Anyways, to get out the rockers I pulled the pins which are pressed in. They are thread on one end, so I rummaged through my parts bin and found a stud that had the right threads. Then I just used a 123 block and washers to make my own puller. They came right out without too much fuss, even if it was a bit tedious. I actually didn't pull them out all the way as I don't see a real reason to do so. Just far enough I can get the rockers out.
Installed the rings, oiled up the new piston and cylinder, and fished the timing chain back up and through. I'm working on the assumption that it's hard to slip a tooth down below on the crank side sprocket.
And that's where I'm at. Any suggestions?
Alex
The eyes of the ranger are upon you.
2000 Suzuki DR-Z400
2005 BMW R1200GS
2003 Yamaha V-Star 1100
1978 CX-500 Scrambler (in progress)
It's been a few days since we were able to work on this, but last night we managed to make some progress. My spring compressor ($28/Amazon) came and we took out the valves to replace the stem seals. The guides were rock solid, so I didn't mess with them.
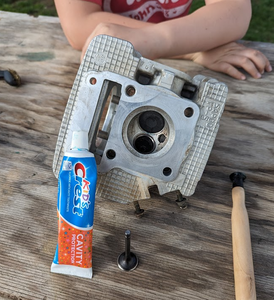
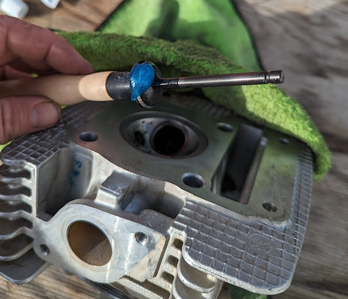
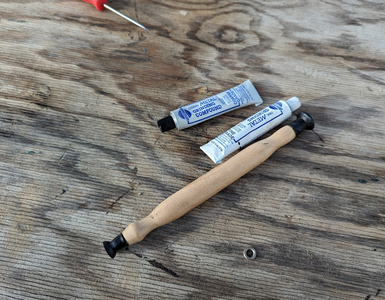
I didn't have any valve lapping compound, so we tried toothpaste. It didn't work. Maybe it worked just a little, but not enough for my satisfaction so we ended up driving down to the auto parts store to get the proper stuff, which worked much better. On the bright side, our pistons smelled fresh and minty.
Next order of business was to put the head back together. I didn't get too many pictures, but it was pretty easy. Getting the valve stem keepers in was finicky, but not terrible. The shafts that hold the rockers just tapped right in, so no need to use the press, which I was happy about. It even seemed like the rockers went in easier than they came out.
We did manage to get the cylinder and head back on with the engine in the frame without too much trouble. I was dreading this step, and while it wasn't a straight shot with a bit of maneuvering it went on without too many problems. The issue is getting the head bolts in. The right rear one is completely un-obstructed, so you do that one last. Basically if you can get them past the frame you are home free, so put them in one at a time but not all the way and wiggle around and you'll figure it out. You may end up scratching some of the blue frame paint.
With the timing chain tensioner completely removed I was able to get the the cam timing gear in. It takes some finagling, but it's possible. I got the timing wrong the first time I put it in, so I had to do it a couple times.
I'm happy. I thought this was going to be the hard part but it wasn't too bad.
The eyes of the ranger are upon you.
2000 Suzuki DR-Z400
2005 BMW R1200GS
2003 Yamaha V-Star 1100
1978 CX-500 Scrambler (in progress)
Today was a good day. We buttoned up a few things, installed the gas tank, and hit the magic button. With just a little help from Mr. Starting Fluid she came to life, and in a few seconds was idling contently. I will need to adjust the idle for sure, but already I can tell it's a night and day difference. No smoke, no smells apart from the first time running stuff, and the throttle response seemed way better.
We didn't run it long as I want to do a proper break in cycle, and our neighbors probably wouldn't appreciate us doing this at 9:30 at night.
Peyton is buttoning up everything now such as the tank, plastics, seat, etc.
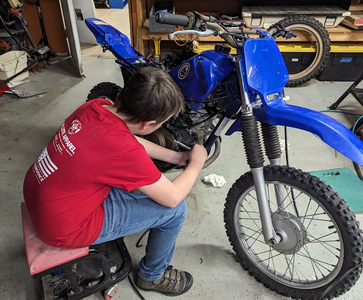
I'm thrilled at how much knowledge he has about his bike now. He knows how his entire top end works. I think he will appreciate his bike so much more now.
#DadWins
The eyes of the ranger are upon you.
2000 Suzuki DR-Z400
2005 BMW R1200GS
2003 Yamaha V-Star 1100
1978 CX-500 Scrambler (in progress)
This was fun as I got to learn more about what role the piston rings played and how valves and timing worked. It was a bit sketchy getting the top end out though, because we had to move a lot of stuff and squeeze it through the body of the bike. But we got it and now my bike runs a lot better.
